Amazon EC2 Deployments
Applies to: IBM StreamSets as a Service
You can create an Amazon EC2 deployment for an active AWS environment.
When you create an EC2 deployment, you define the engine type, version, and configuration to deploy to the Amazon VPC specified in the environment. You also specify the number of engine instances to deploy. Each engine instance runs on a dedicated EC2 instance.
When you start an EC2 deployment, Control Hub connects to the Amazon VPC specified in the environment and then creates an AWS CloudFormation stack. AWS CloudFormation provisions the group of EC2 instances in the VPC and then deploys and launches one IBM StreamSets engine instance on each EC2 instance.
AWS CloudFormation manages the provisioning and monitoring of the EC2 instances. Control Hub simply receives the status of the deployed engine instances and sends any updates to CloudFormation.
When you stop an EC2 deployment, CloudFormation deletes the existing EC2 instances.
For more information about AWS CloudFormation, see the AWS CloudFormation documentation.
Before you create an Amazon EC2 deployment, you must complete several prerequisites.
EC2 Instance Details
| Engine Type | Software |
|---|---|
| Data Collector 5.11.x and later |
|
| Data Collector 5.10.x and earlier |
|
| Transformer 6.0.x and later |
|
| Transformer 5.9.x |
|
| Transformer 5.8.x and earlier |
|
| Transformer for Snowflake - all versions Applicable when your organization uses a deployed Transformer for Snowflake engine. |
|
Secrets
- Authentication token that the deployment uses to communicate with IBM StreamSets.
- Proxy credentials, including the HTTP and HTTPS proxy user and password, when you configure engines to use a proxy server.
Prerequisites
- Create an AWS environment
- Create and activate an AWS environment in Control Hub, as described in AWS Environments.
- Configure an instance profile
- Ask your AWS administrator to configure an instance profile in AWS to associate with the provisioned EC2 instances. If a default instance profile is defined for the parent AWS environment, you can skip this prerequisite and simply use the default. If a default is not set or if you'd like to override the default for the deployment, see Configure Instance Profiles for EC2 Instances.
- Optionally, create an EC2 key pair
- Control Hub does not use or require an EC2 key pair to access the EC2 instances. However, if you plan to connect to the instances using SSH, ask your AWS administrator to create an Amazon EC2 key pair to associate with the provisioned EC2 instances.
- Optionally, set up an external resource archive
- When your pipelines require external resources and when you plan to deploy multiple engine instances, you must set up an external resource archive that all engine instances can access. When your pipelines do not require external resources or when using a single engine instance to get started with IBM StreamSets, you do not need to complete this prerequisite.
Configuring an Amazon EC2 Deployment
Configure an Amazon EC2 deployment to define the group of engine instances to deploy to an AWS environment.
To create a new deployment, click in the Navigation panel, and then click the Create
Deployment icon: ![]() .
.
To edit an existing deployment, click in the Navigation panel, click the deployment name, and then click Edit.
Define the Deployment
Define the deployment essentials, including the deployment name and type, the environment that the deployment belongs to, and the engine type and version to deploy.
Once saved, you cannot change the deployment type, the engine version, or the environment.
-
Configure the following properties:
Define Deployment Property Description Deployment Name Name of the deployment. Use a brief name that informs your team of the deployment use case.
Deployment Type Select Amazon EC2. Environment Active AWS environment where engine instances will be deployed. Engine Type Type of engine to deploy: - Data Collector
- Transformer
- Transformer for Snowflake - Applicable when your organization uses a deployed Transformer for Snowflake engine.
Engine Version Engine version to deploy. Deployment Tags Optional tags that identify similar deployments within Control Hub. Use deployment tags to easily search and filter deployments. Enter nested tags using the following format:
<tag1>/<tag2>/<tag3> -
If creating the deployment, click one of the following buttons:
- Cancel - Cancels creating the deployment and exits the wizard.
- Save & Next - Saves the deployment and continues.
- Save & Exit - Saves the deployment and exits the wizard, displaying the incomplete deployment in the Deployments view.
Configure the Engine
Define the configuration of the engine to deploy. You can use the defaults to get started.
-
Configure the following properties:
Engine Property Description Stage Libraries Stage libraries to install on the engine.
The available stage libraries depend on the selected engine type and version.
Not applicable for a Transformer for Snowflake deployment.
Advanced Configuration Access to advanced configuration properties to further customize the engine. As you get started with StreamSets, the default values should work in most cases.
The available properties depend on the selected engine type.
External Resource Source Source of the external files and libraries, such as JDBC drivers, required by the engine: - None - External resources are not defined in the
deployment.
Select when using a single engine instance to get started with IBM StreamSets, or when your pipelines do not require external resources.
- Archive File - External resources are included in an
archive file defined in the deployment.
Select when the deployment launches multiple engine instances and when your pipelines require external resources.
Not applicable for a Transformer for Snowflake deployment.
External Resource Location Location of the archive file that contains the external resources used by the engine. The archive file must be in TGZ or ZIP format.
Enter the location using one of the following formats:
- File path. For example: /mnt/shared/externalResources.tgz
- URL. For example, enter the URL as follows,
based on whether the file is stored in a private or
public Amazon S3 bucket:
- Private URL -
s3://<bucket_name>/<path>/externalResources.tgz - Public URL -
https://<bucket
                        name>.s3.<region>.amazonaws.com/externalResources.tgz
- Private URL -
Tip: Click the download icon to download a sample externalResources.tgz file to view the required directory structure.Available when using an archive file as the source for external resources.
Not applicable for Transformer for Snowflake.
Engine Labels Labels to assign to all engine instances launched for this deployment. Labels determine the group of engine instances that run a job. Default is the name of the deployment.
Max CPU Load (%) Maximum percentage of CPU on the host machine that an engine instance can use. When an engine equals or exceeds this threshold, Control Hub does not start new pipeline instances on the engine.
All engine instances belonging to the deployment inherit these resource threshold values.
Default is 80.
Max Memory (%) Maximum percentage of the configured Java heap size that an engine instance can use. When an engine equals or exceeds this threshold, Control Hub does not start new pipeline instances on the engine.
Default is 100.
Max Running Pipeline Count Maximum number of pipelines that can be running on each engine instance. When an engine equals this threshold, Control Hub does not start new pipeline instances on the engine.
Default is 1,000,000.
- None - External resources are not defined in the
deployment.
-
If creating the deployment, click one of the following buttons:
- Back - Returns to the previous step in the wizard.
- Save & Next - Saves the deployment and continues.
- Save & Exit - Saves the deployment and exits the wizard, displaying the incomplete deployment in the Deployments view.
Configure the EC2 Autoscaling Group
Configure details about the EC2 instances that will be provisioned.
-
Configure the following properties:
EC2 Autoscaling Group Property Description Desired Instances Number of engine instances to deploy. For each instance, AWS CloudFormation provisions an EC2 instance in the VPC, and then deploys and launches one engine instance on each EC2 instance.Important: If your pipelines require external resources, you must set up an external resource archive that all engine instances can access before increasing the number of instances.Default is 1. Set to the minimum value of 0 to temporarily prevent engine instances from running, as an alternative to stopping the deployment but that still incurs minimal costs from the cloud service provider.
Enable Spot Instances Provisions EC2 spot instances, in addition to on-demand instances. For a comparison of spot instances and on-demand instances, see the Amazon EC2 documentation.
Requires the AWS_2023_12_15 environment feature version.
Percentage on Demand Instances Percentage of EC2 instances that should be on-demand instances, instead of spot instances. For example, 100% provisions all on-demand instances and no spot instances. Available when spot instances are enabled.
EC2 Instance Type Type of EC2 instance to provision. For more information about the types, see Amazon EC2 Instance Types.
Instance Profile Instance profile to associate with the provisioned EC2 instances. When a default instance profile is defined for the AWS environment, the ARN of the default role is displayed. To override the default, enter the ARN of another instance profile created as a prerequisite by your AWS administrator, using the following format:
arn:aws:iam::<account_id>:instance-profile/<role_name>AWS Tags AWS tags to apply to all AWS resources provisioned for this deployment. Enter the tags as key-value pairs. For tag naming requirements, see the AWS documentation.
You can define the tags using simple or bulk edit mode. In simple edit mode, click Add Another to define additional tags. In bulk edit mode, configure tags in JSON format.
Important: These tags are applied to AWS resources, not to Control Hub deployments.Init Script Initialization script to run on each provisioned instance.
Use the script to set up provisioned instances with additional software as required by your organization. The script must be a valid shell script with a maximum size of 8 KB.
Enter the script directly in the property or upload a shell script file that uses an
.shextension. After uploading, you can edit the contents of the script. -
If creating the deployment, click one of the following buttons:
- Back - Returns to the previous step in the wizard.
- Save & Next - Saves the deployment and continues.
- Save & Exit - Saves the deployment and exits the wizard, displaying the incomplete deployment in the Deployments view.
Configure EC2 SSH Access
Optionally, select the Amazon EC2 key pair to associate with the provisioned EC2 instances.
-
Configure the following properties:
EC2 SSH Access Property Description SSH Key Source Source for the SSH keys that can be used to connect to the provisioned EC2 instances: - None - Does not associate an EC2 key pair with the instances.
- Existing SSH Key Pair Name - Associates an existing EC2 key pair with the instances.
Key Pair Name Name of the existing key pair to associate with each EC2 instance. Select the key pair created as a deployment prerequisite.
-
If creating the deployment, click one of the following buttons:
- Back - Returns to the previous step in the wizard.
- Save & Next - Saves the deployment and continues.
- Save & Exit - Saves the deployment and exits the wizard, displaying the incomplete deployment in the Deployments view.
Share the Deployment
By default, the deployment can only be seen by you. Share the deployment with other users and groups to grant them access to it.
- In the Select Users and Groups field, type a user email address or a group name.
-
Select users or groups from the list, and then click
Add.
The added users and groups display in the User / Group table.
-
Modify permissions as needed. By default, each added user
or group is granted the following permissions:
- Read - View the details of the deployment and of all engines managed by the deployment. Restart or shut down individual engines managed by the deployment in the Engines view.
- Write - Edit, start, stop, and delete the deployment. Delete engines managed by the deployment. Also requires read access on the parent environment.
- Execute - Start jobs on engines managed by the deployment. Starting jobs also requires execute access on the job and read access on the pipeline.
For more information, see Deployment Permissions.
-
Click one of the following buttons:
- Back - Returns to the previous step in the wizard.
- Save & Next - Saves the deployment and continues.
- Save & Exit - Saves the deployment and exits the wizard, displaying the incomplete deployment in the Deployments view.
Review and Launch the Deployment
You've successfully finished creating the deployment.
-
Click one of the following buttons:
- Exit - Saves the deployment and exits the wizard, displaying the Deactivated deployment in the Deployments view. You can start the deployment at a later time.
- Launch Deployment - Starts the deployment, provisions EC2 instances in your AWS account, and launches an engine on each instance.
-
If the deployment launches a Transformer engine that works with a Spark cluster, you must grant the Spark cluster
access to Transformer.
For instructions, see Granting the Spark Cluster Access to Transformer in the Transformer engine documentation.
Editing an Amazon EC2 Deployment
You can edit an Amazon EC2 deployment while it is deactivated or active.
When you stop a deployment, all existing EC2 instances are deleted. After you edit properties and then restart the deployment, Control Hub uses AWS CloudFormation to provision a new group of EC2 instances and launch a new IBM StreamSets engine instance on each EC2 instance.
When you edit a deployment while it is active, existing EC2 instances might be deleted, depending on the following types of edited properties:
- General deployment or engine properties
- When you edit general deployment or engine properties while the deployment is active, AWS CloudFormation continues running the existing EC2 instances. Changes are replicated to all engine instances on the next restart of the engines.
- EC2 properties
- When you edit EC2 properties while the deployment is active, AWS CloudFormation might replace all of the existing EC2 instances, depending on the change. If a replacement is needed, CloudFormation deletes the EC2 instances in batches to prevent engine downtime. Each batch can contain up to 25% of the total number of instances in the deployment.
To edit a deployment, locate the deployment in the Deployments
view. In the Actions column, click the
More icon (![]() ) and then click Edit.
) and then click Edit.
Tracking URL
When you view the details of an active Amazon EC2 deployment, you can access a tracking URL to the AWS Management Console. Use the URL to view additional information about the AWS resources automatically provisioned for the IBM StreamSets deployment.
To access the tracking URL, click an Amazon EC2 deployment name in the Deployments view and then locate the Tracking URL property in the deployment details.
- Events - Displays status and error messages that help with troubleshooting.
- Resources - Displays the resources created for the deployment, including the EC2 template and the auto scaling group.
- Parameters - Displays some of the values entered in the Control Hub UI. Use to verify that the IBM StreamSets parent environment and deployment are configured with the correct values, such as the security group, subnet, and IAM instance profile.
For example, the following image displays the Events tab for a sample CloudFormation stack:

The following topic provides brief tips on finding the most useful information about the provisioned resources. For more details about monitoring an AWS CloudFormation stack, see the AWS CloudFormation documentation.
Auto Scaling Group
In the AWS CloudFormation stack details page, click the Resources tab and then click the ASG link.
- Activity - Displays status messages.
- Instance management - Includes a link to each provisioned EC2 instance.
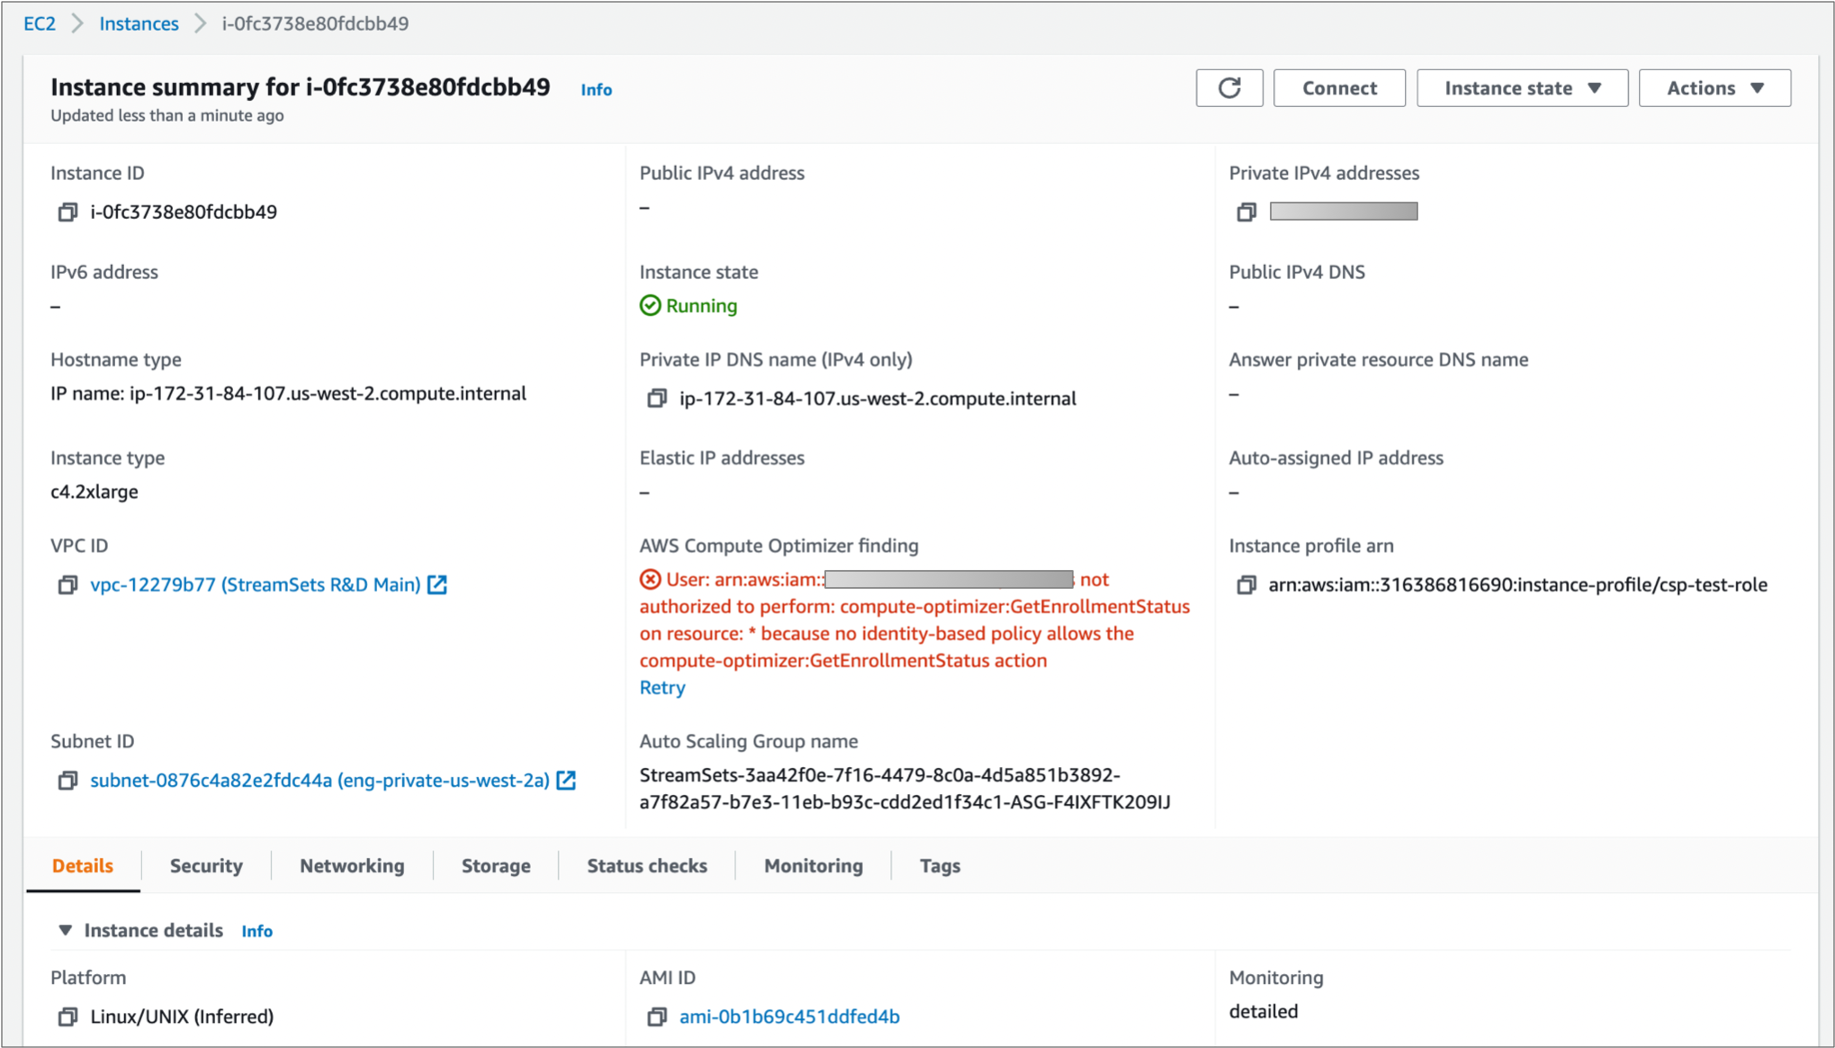
For example, the following image displays the Instance management tab that includes one EC2 instance with a Healthy status:

In the Instances section, click an instance ID to view specific details about the EC2 instance, such as the private IP address. For example, the following image displays a sample EC2 instance summary page: